Apple's Product Page Optimization lets you A/B test your App Store screenshots against your current product page. The testing part is easy. Getting the screenshots into the test is the slow part: every variant needs its own set for every language and every device size, and App Store Connect makes you drag them in one slot at a time.
Screenshot Studio now uploads straight into a test variant. Pick the test, pick the variant (or add one), and every language and device size goes in with one upload. This guide covers both the manual way and the one-step way.
New to Product Page Optimization? Start with how to A/B test your App Store screenshots, which covers traffic splits, confidence, and what to test.
How Product Page Optimization Stores Screenshots #
A Product Page Optimization test has up to three treatments, which App Store Connect also calls variants. Each treatment is a full alternate set of product page assets:
- One set of screenshots per localization you include in the test
- Inside each localization, one set per device size (6.9-inch iPhone, 13-inch iPad, and so on)
- Optionally, a different app icon or app preview
So a test with 3 variants, 5 languages and 2 device sizes needs 30 separate screenshot sets, each with up to 10 images. That is the same amount of work as your main product page, times the number of variants.
The Manual Way in App Store Connect #
- Open App Store Connect → Apps → your app → Product Page Optimization.
- Create a test: give it a name, choose the number of treatments, the traffic proportion, and the localizations.
- Open the first treatment and choose a localization.
- Drag in the screenshots for each device size, in order.
- Repeat step 4 for every localization, then steps 3 and 4 for every treatment.
- Submit the test for review, then start it once it is approved.
Steps 3 to 5 are where the time goes. It is easy to drop English screenshots into the Japanese treatment, or put screenshot 3 in the first slot, and nothing warns you until you look at the variant again.
The One-Step Way with Screenshot Studio #
1. Create the test in App Store Connect #
Create the test as in steps 1 and 2 above: name, traffic proportion and localizations. Don't add screenshots. Leave the test in Prepare for Submission; that is the only state in which its variants can be changed.
2. Design the variant #
Design the screenshots you want to test in Screenshot Studio. Keep your current design as the control and change one thing in the variant: the first screenshot, the caption style, the background, or the order. A variant that changes everything at once can't tell you which change worked.
Changing a caption or background once updates every language and device size at the same time, so a variant takes minutes, not an afternoon. Our caption guide has ideas worth testing.
3. Choose the test and variant #
Click Upload to App Store. Under Upload To, choose Product Page Optimization Test instead of Default Product Page. Screenshot Studio lists the tests in your linked app that are still being prepared.
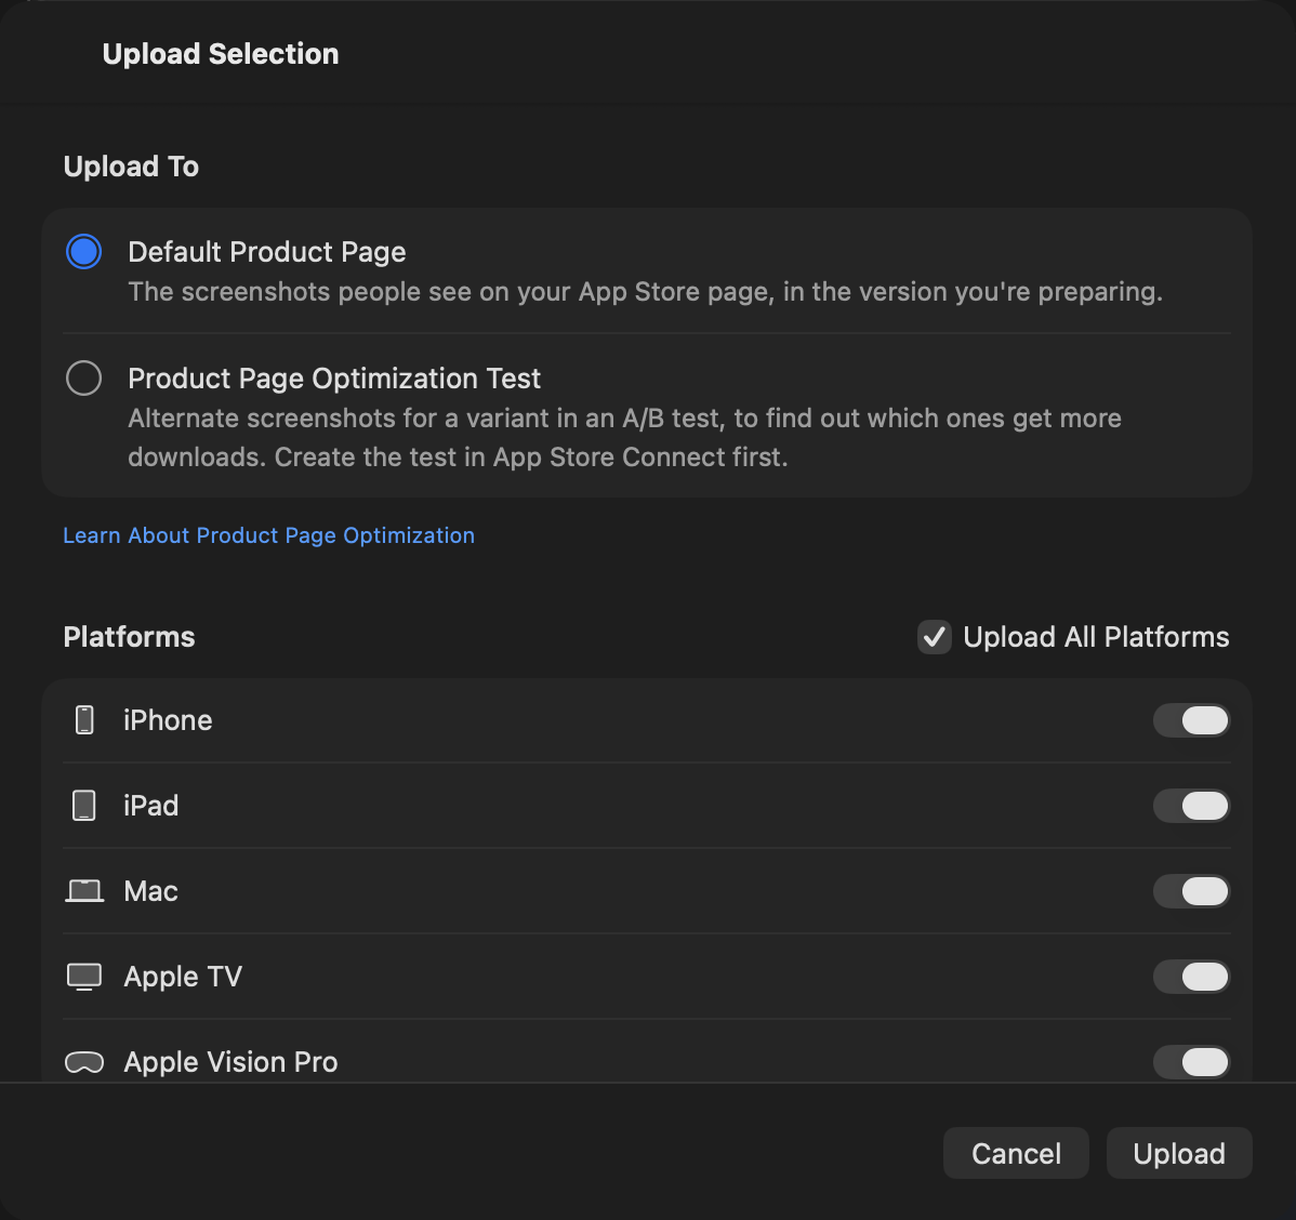
Pick the Test, then the Variant. If the test has room for another treatment, Add Variant… creates one right there, so you don't have to go back to App Store Connect. A test holds up to three.
4. Upload #
Screenshot Studio uploads every language and device size in the project into that variant:
- Missing locales are added. A brand-new variant has no localizations; Screenshot Studio creates one for each language you upload.
- Only what you upload is replaced. The variant's screenshots are replaced for each language and device size you upload. Anything else in the variant stays as it is.
- Your live page is untouched. Nothing goes to your default product page or the version you are preparing.
Uploading the next variant is the same: change the design, choose the next variant, and upload again.
5. Submit and start the test #
Back in App Store Connect, check the variants, submit the test for review, and start it once Apple approves the treatments.
Things to Know #
- One platform per test. A Product Page Optimization test belongs to one App Store platform. iPhone and iPad screenshots go to an iOS test, and Mac screenshots to a macOS test. Upload one platform at a time.
- The test must be editable. Once a test is submitted for review, its variants can't change. Screenshot Studio checks again right before it uploads and stops if the test has been submitted since you picked it.
- Link the project first. Uploading to a test uses the same App Store Connect API key and linked app as a normal upload. See how to upload screenshots to App Store Connect for the setup.
- Sizes still matter. Variants follow the same screenshot size rules as your product page. Screenshot Studio exports the exact sizes, so the upload is not refused.
Test More, Guess Less #
The fewer hours a variant costs, the more tests you run, and the more tests you run, the more you learn about what makes people download. With the variant upload, a new test comes down to one design change and one upload.